
Move-in and move-out protocol with deposit settlement
Record rooms, meter readings and keys at the appointment, offline too, sign, complete, and settle the deposit at move-out.
Who this is for:
Owners
Editors
2 min readUpdated: 21/09/2026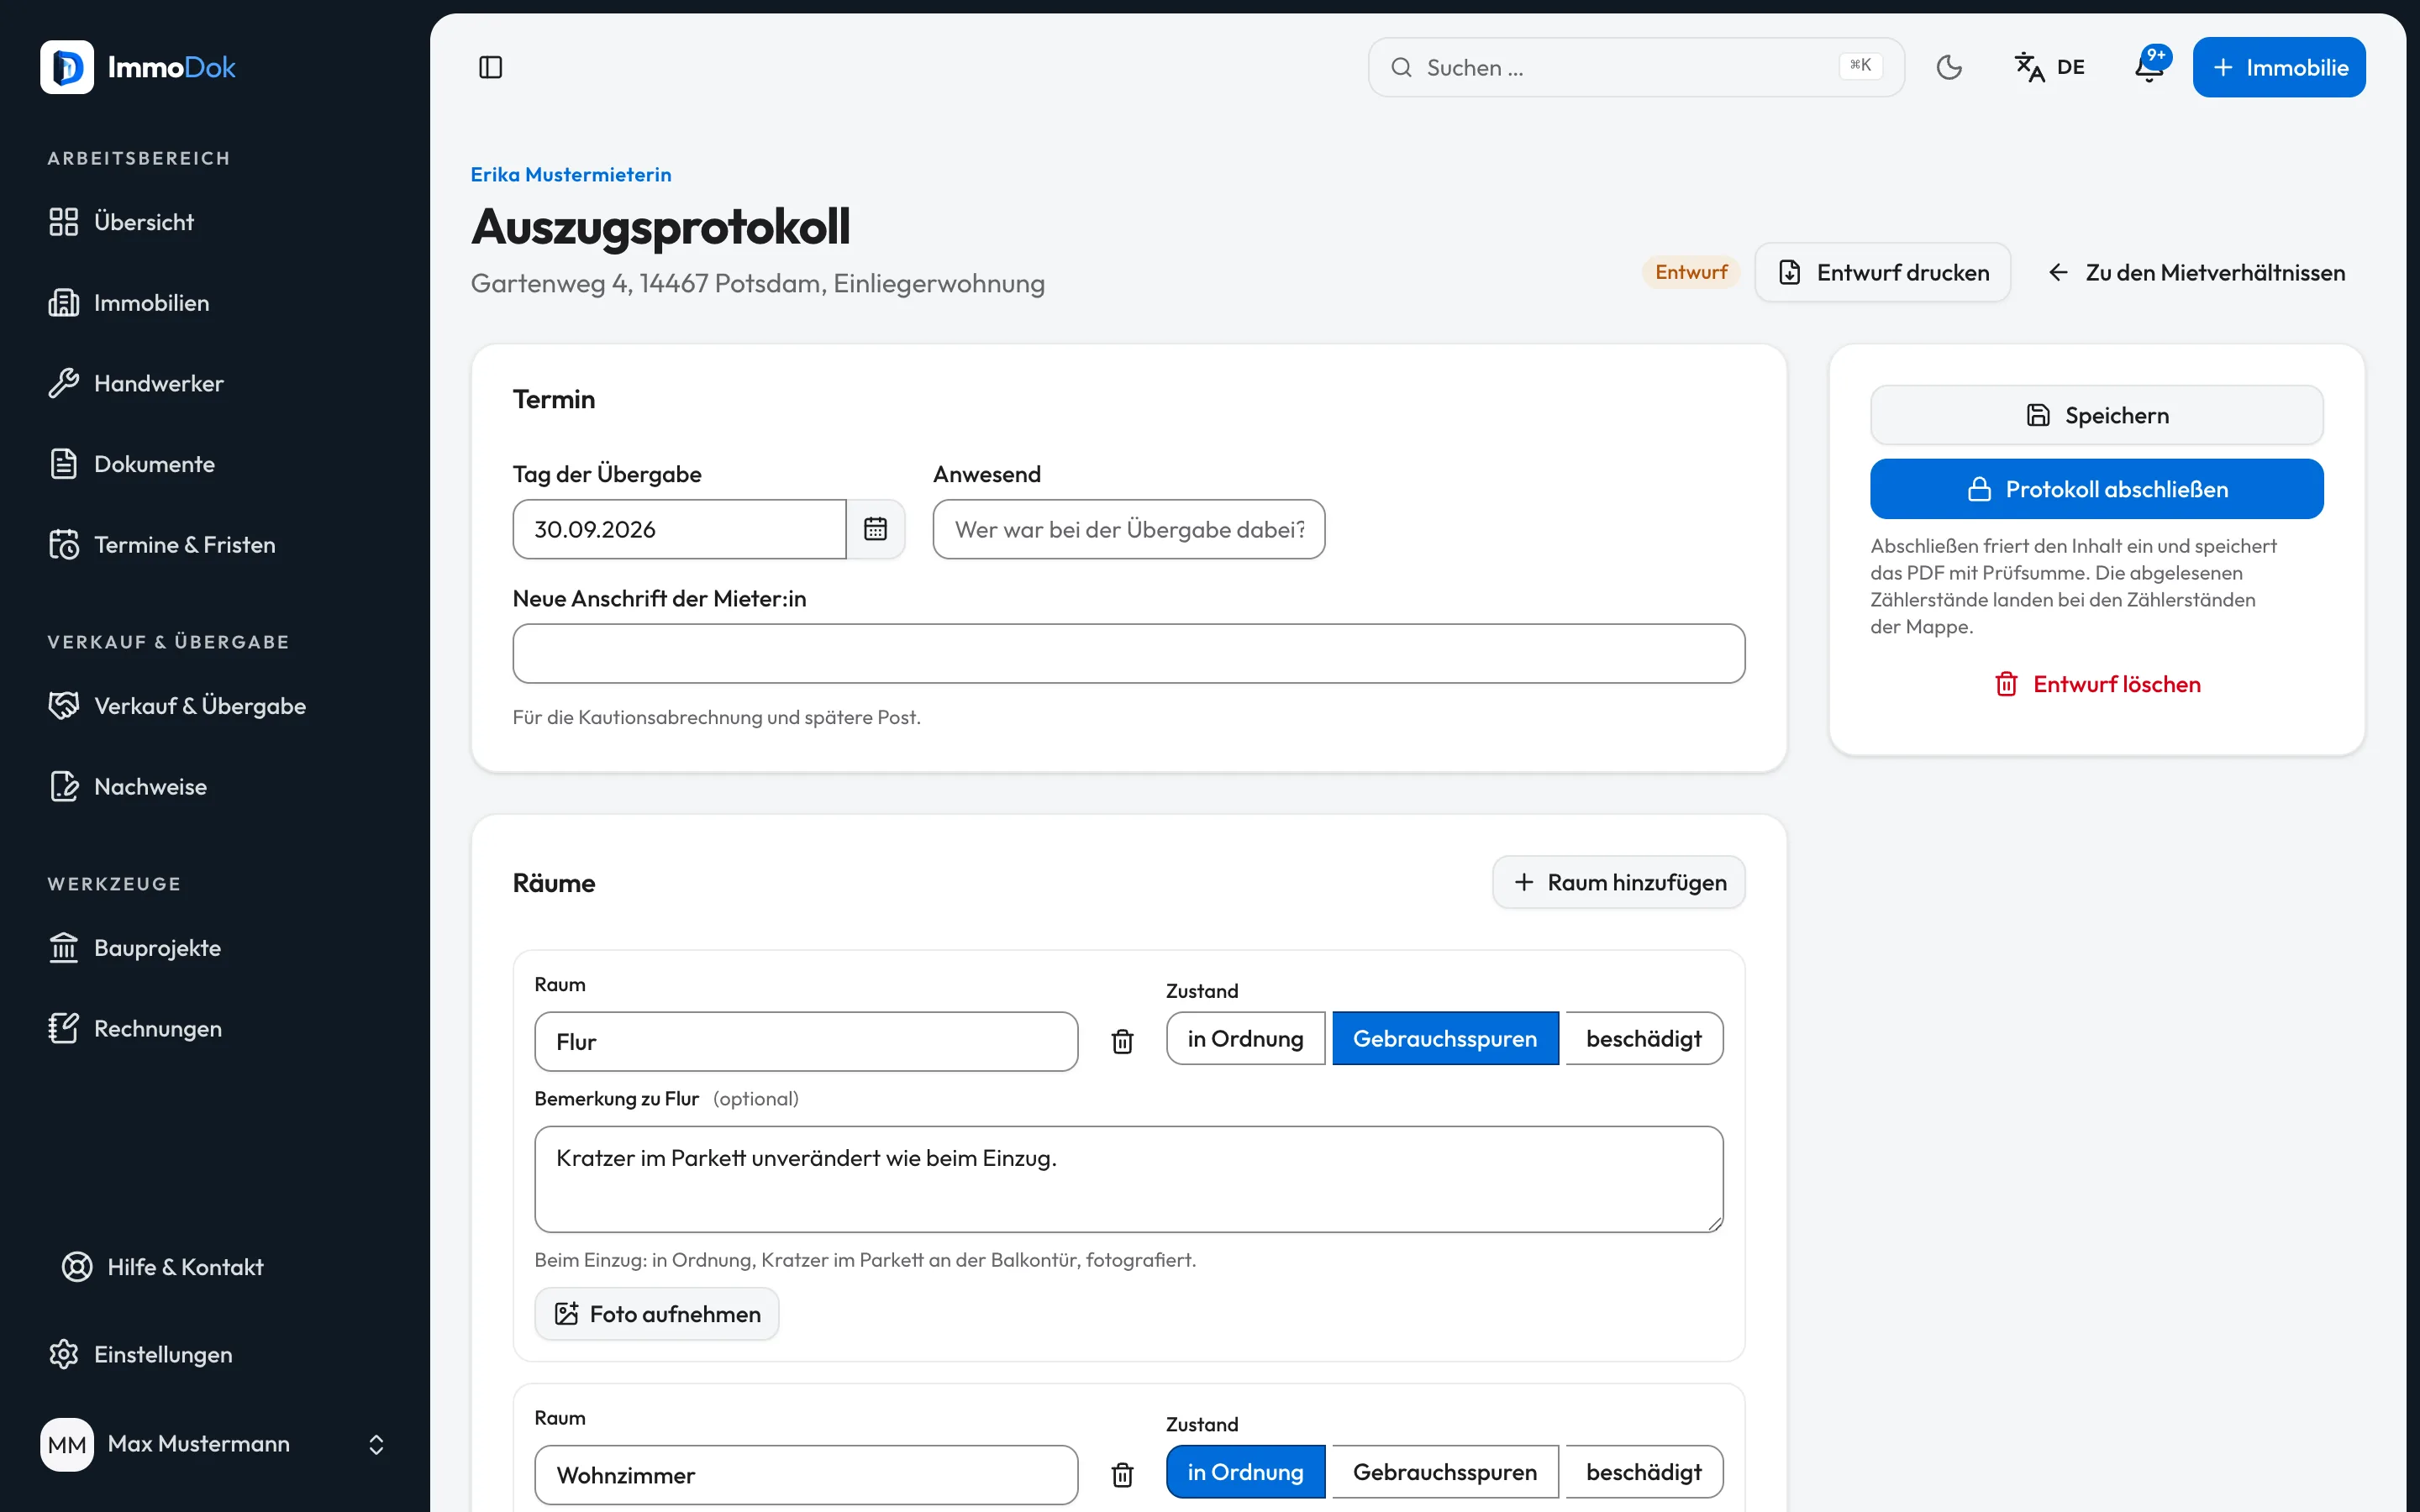
Step by step
- On the tenancy, start “Move-in protocol” or “Move-out protocol” and enter the handover date and who is present.One protocol of each kind per tenancy
- Walk through the rooms: condition “fine”, “signs of wear” or “damaged”, a remark and photos right on the room.Offline, photos wait on the device and upload later
- Record meter readings and keys, and at move-out the tenant’s new address.Known meters are pre-filled
- Sign here on the device or on paper and complete the protocol.Upload the signed scan afterwards
- On a completed move-out protocol: enter deposit, interest, deductions and a retention with its reason, and download the deposit settlement as a PDF.Result: to be paid out, or deductions above the deposit
The result: A frozen protocol as a PDF with checksum, filed in the folder’s documents, meter readings carried over, and the deposit settlement if you need it.
Important: Once completed the protocol cannot be changed. Claims for changes to the flat become time-barred six months after it is returned (§ 548 (1) BGB); ImmoDok shows the deadline from the handover date. For the deposit ImmoDok only adds up; it does not check whether a deduction is justified.
Open in the product
What if it does not work?
- The deposit settlement is missing.
- It exists only on a completed move-out protocol, and it needs the amount of the deposit paid.
- A photo is refused.
- A protocol takes at most 60 photos. Delete duplicates or file further pictures as documents in the folder.
- The scan cannot be uploaded.
- The scan comes after completing, as a PDF or image up to 20 MB.
Related guides
Recording a tenancyTenant, unit, rent, service charges and deposit in one place, plus the landlord confirmation (Wohnungsgeberbestätigung) as a PDF.Preparing an operating cost statementRecord the building’s costs, split them by key and issue one PDF per tenancy, with the calculation and the deadline.Recording meters, keys and inventoryThe three lists people argue about later: meters with readings, keys with counts, handed-over items with condition.