
Preparing a handover
Set appointment, place and participants and outline the scope, the shared basis for the handover appointment.
Who this is for:
Owners
Buyers
1 min readUpdated: 21/09/2026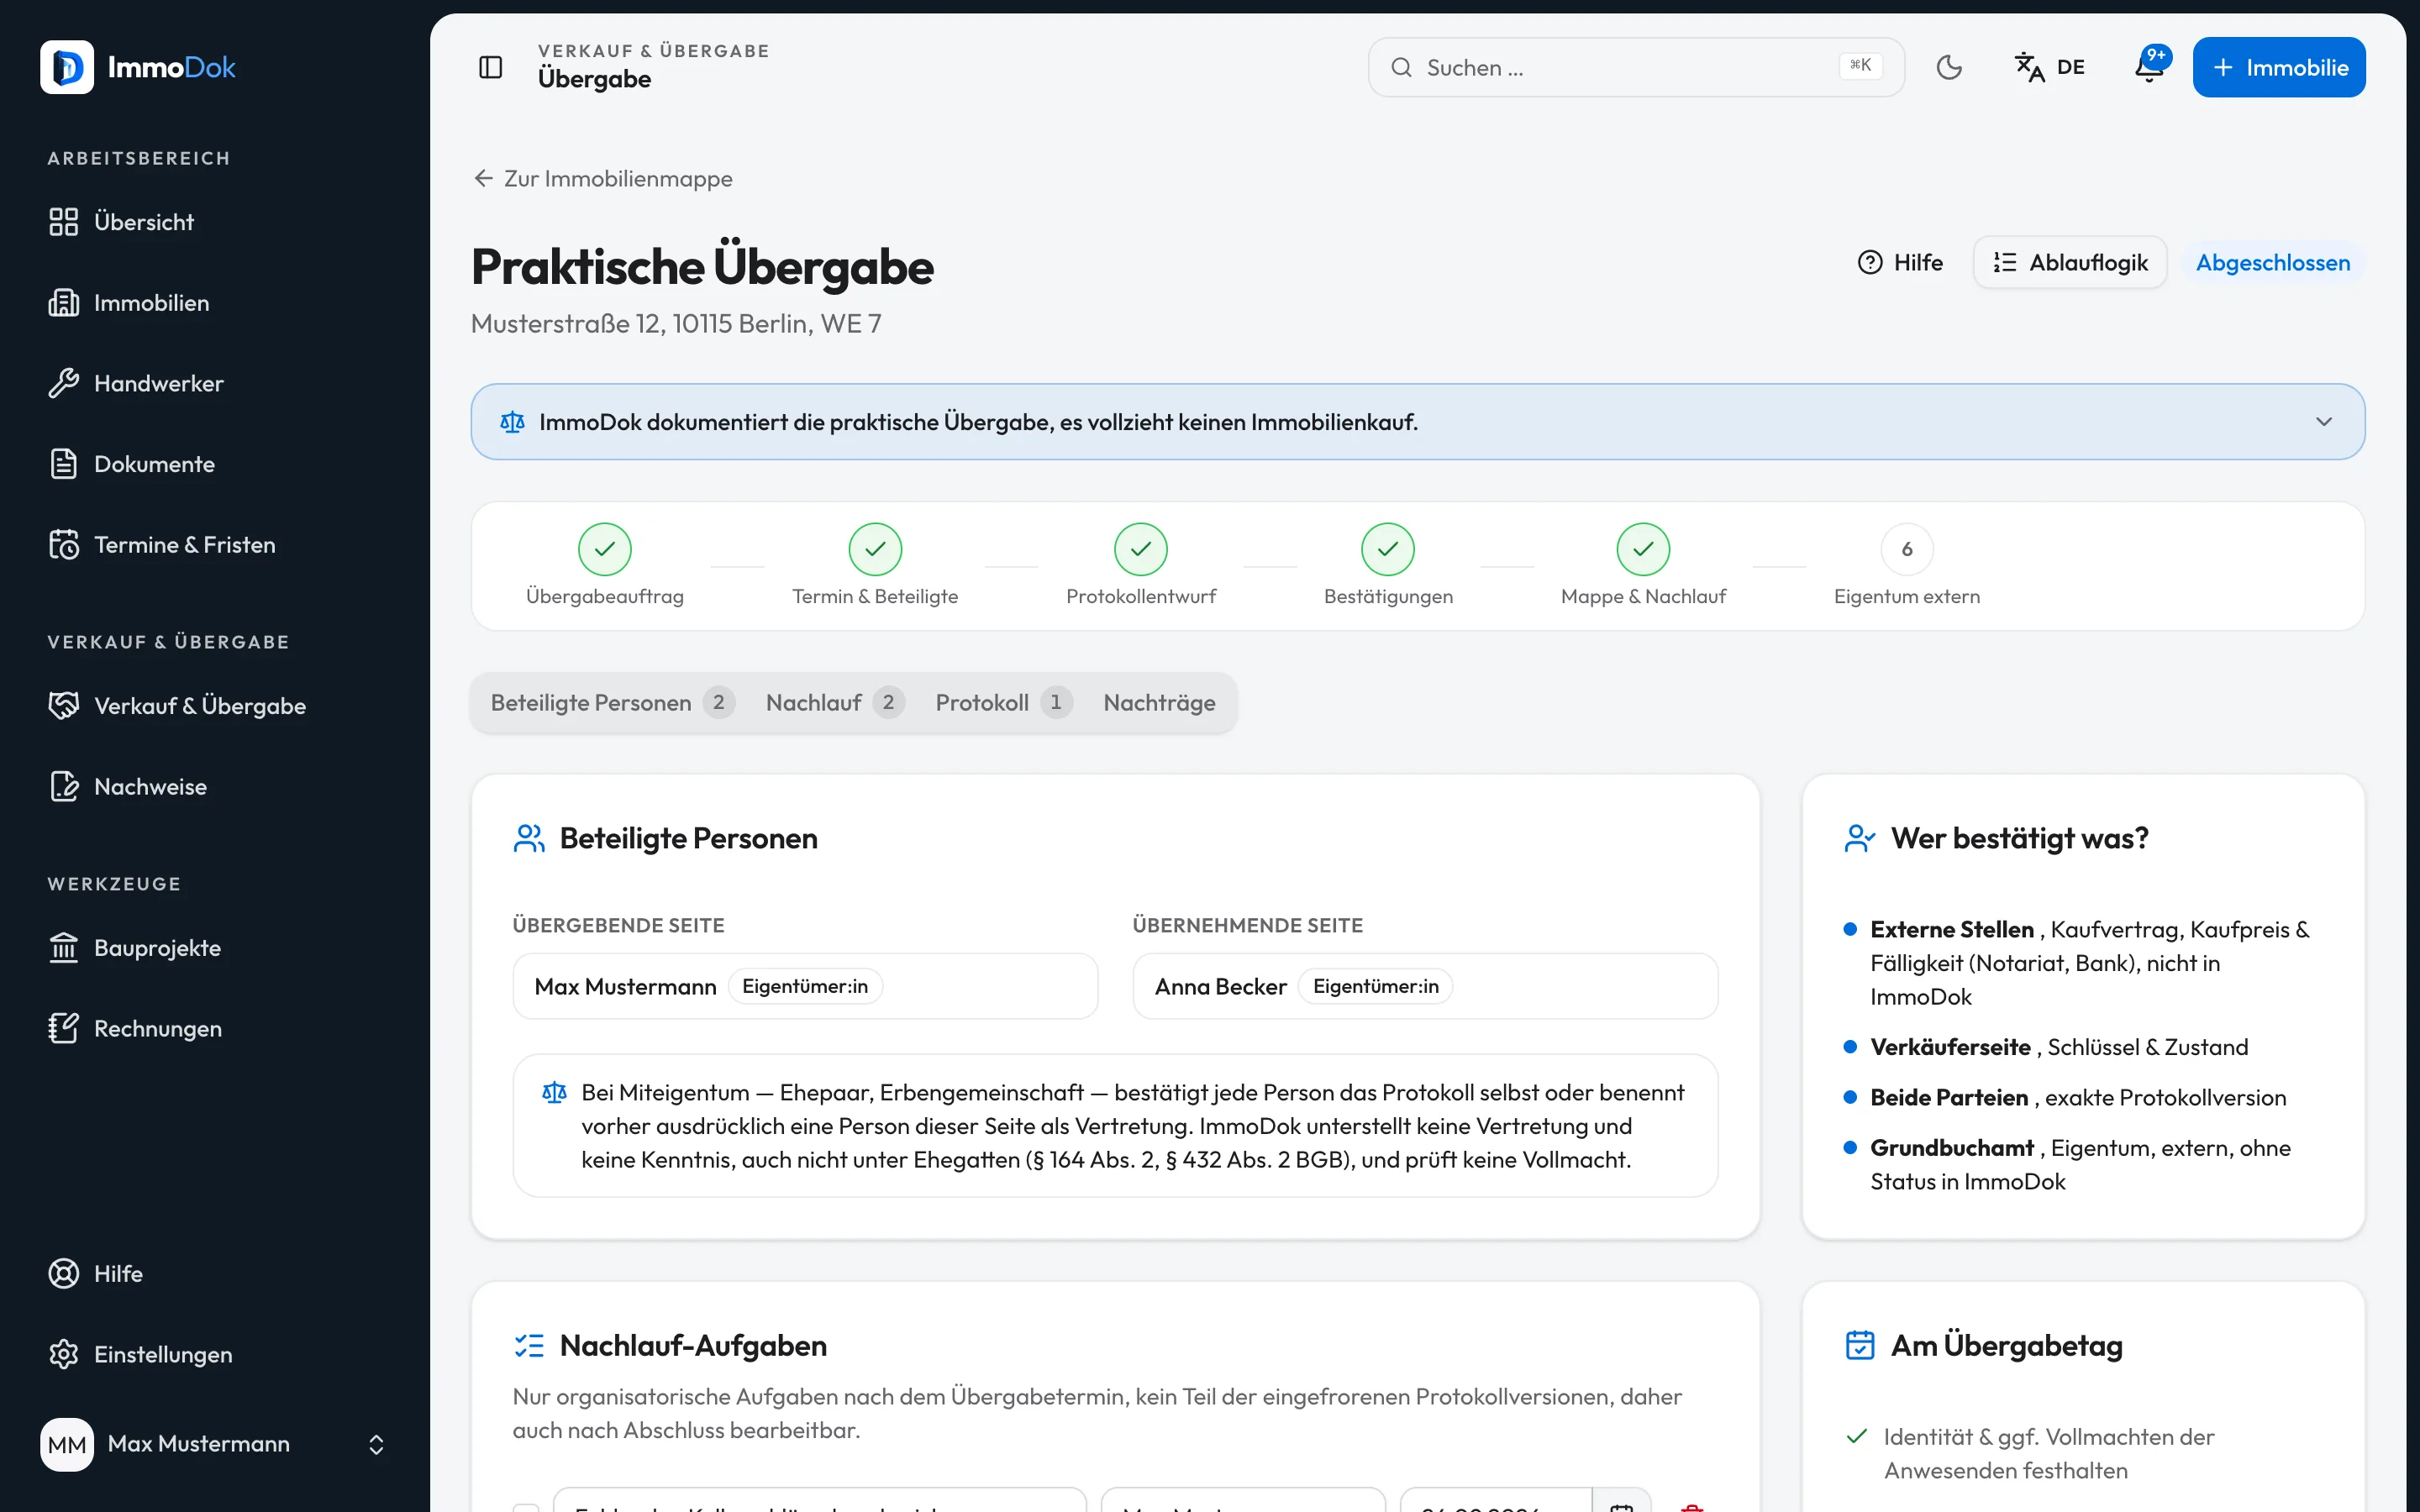
Step by step
- Create the handover in the property or the sales area: appointment, place and participants.Up to ten people with roles
- Activate the handover together, both sides confirm the case is live.Appointment changes go out by e-mail automatically
- Outline the scope: what is handed over, which rooms, which ancillary areas.Free text plus structured lists
- Prepare the lists before the appointment: meters, keys, inventory, on site you then only read off and tick.See "Meters, keys and inventory"
The result: A documented handover appointment both sides have committed to, ready for the protocol.
Important: The practical handover documents possession and condition. Purchase price, payment and transfer of ownership deliberately have no fields here.
Open in the product
What if it does not work?
- The other side cannot see the handover.
- Participants need an ImmoDok account with the invited e-mail address. Handover access is participant-bound and survives the file transfer.
Related guides
Recording meters, keys and inventoryThe three lists people argue about later: meters with readings, keys with counts, handed-over items with condition.Generating the handover protocolFreezing turns the working state into an immutable protocol version with SHA-256 checksum and PDF, the copy both sides confirm.Setting up a buyer data roomProspective buyers first see a summary; full access follows only after the confirmed takeover, every step is logged.