
Uploading a document
Preserve the original, confirm the type, add metadata, turning a file into a findable, countable record.
Who this is for:
Owners
Editors
2 min readUpdated: 02/09/2026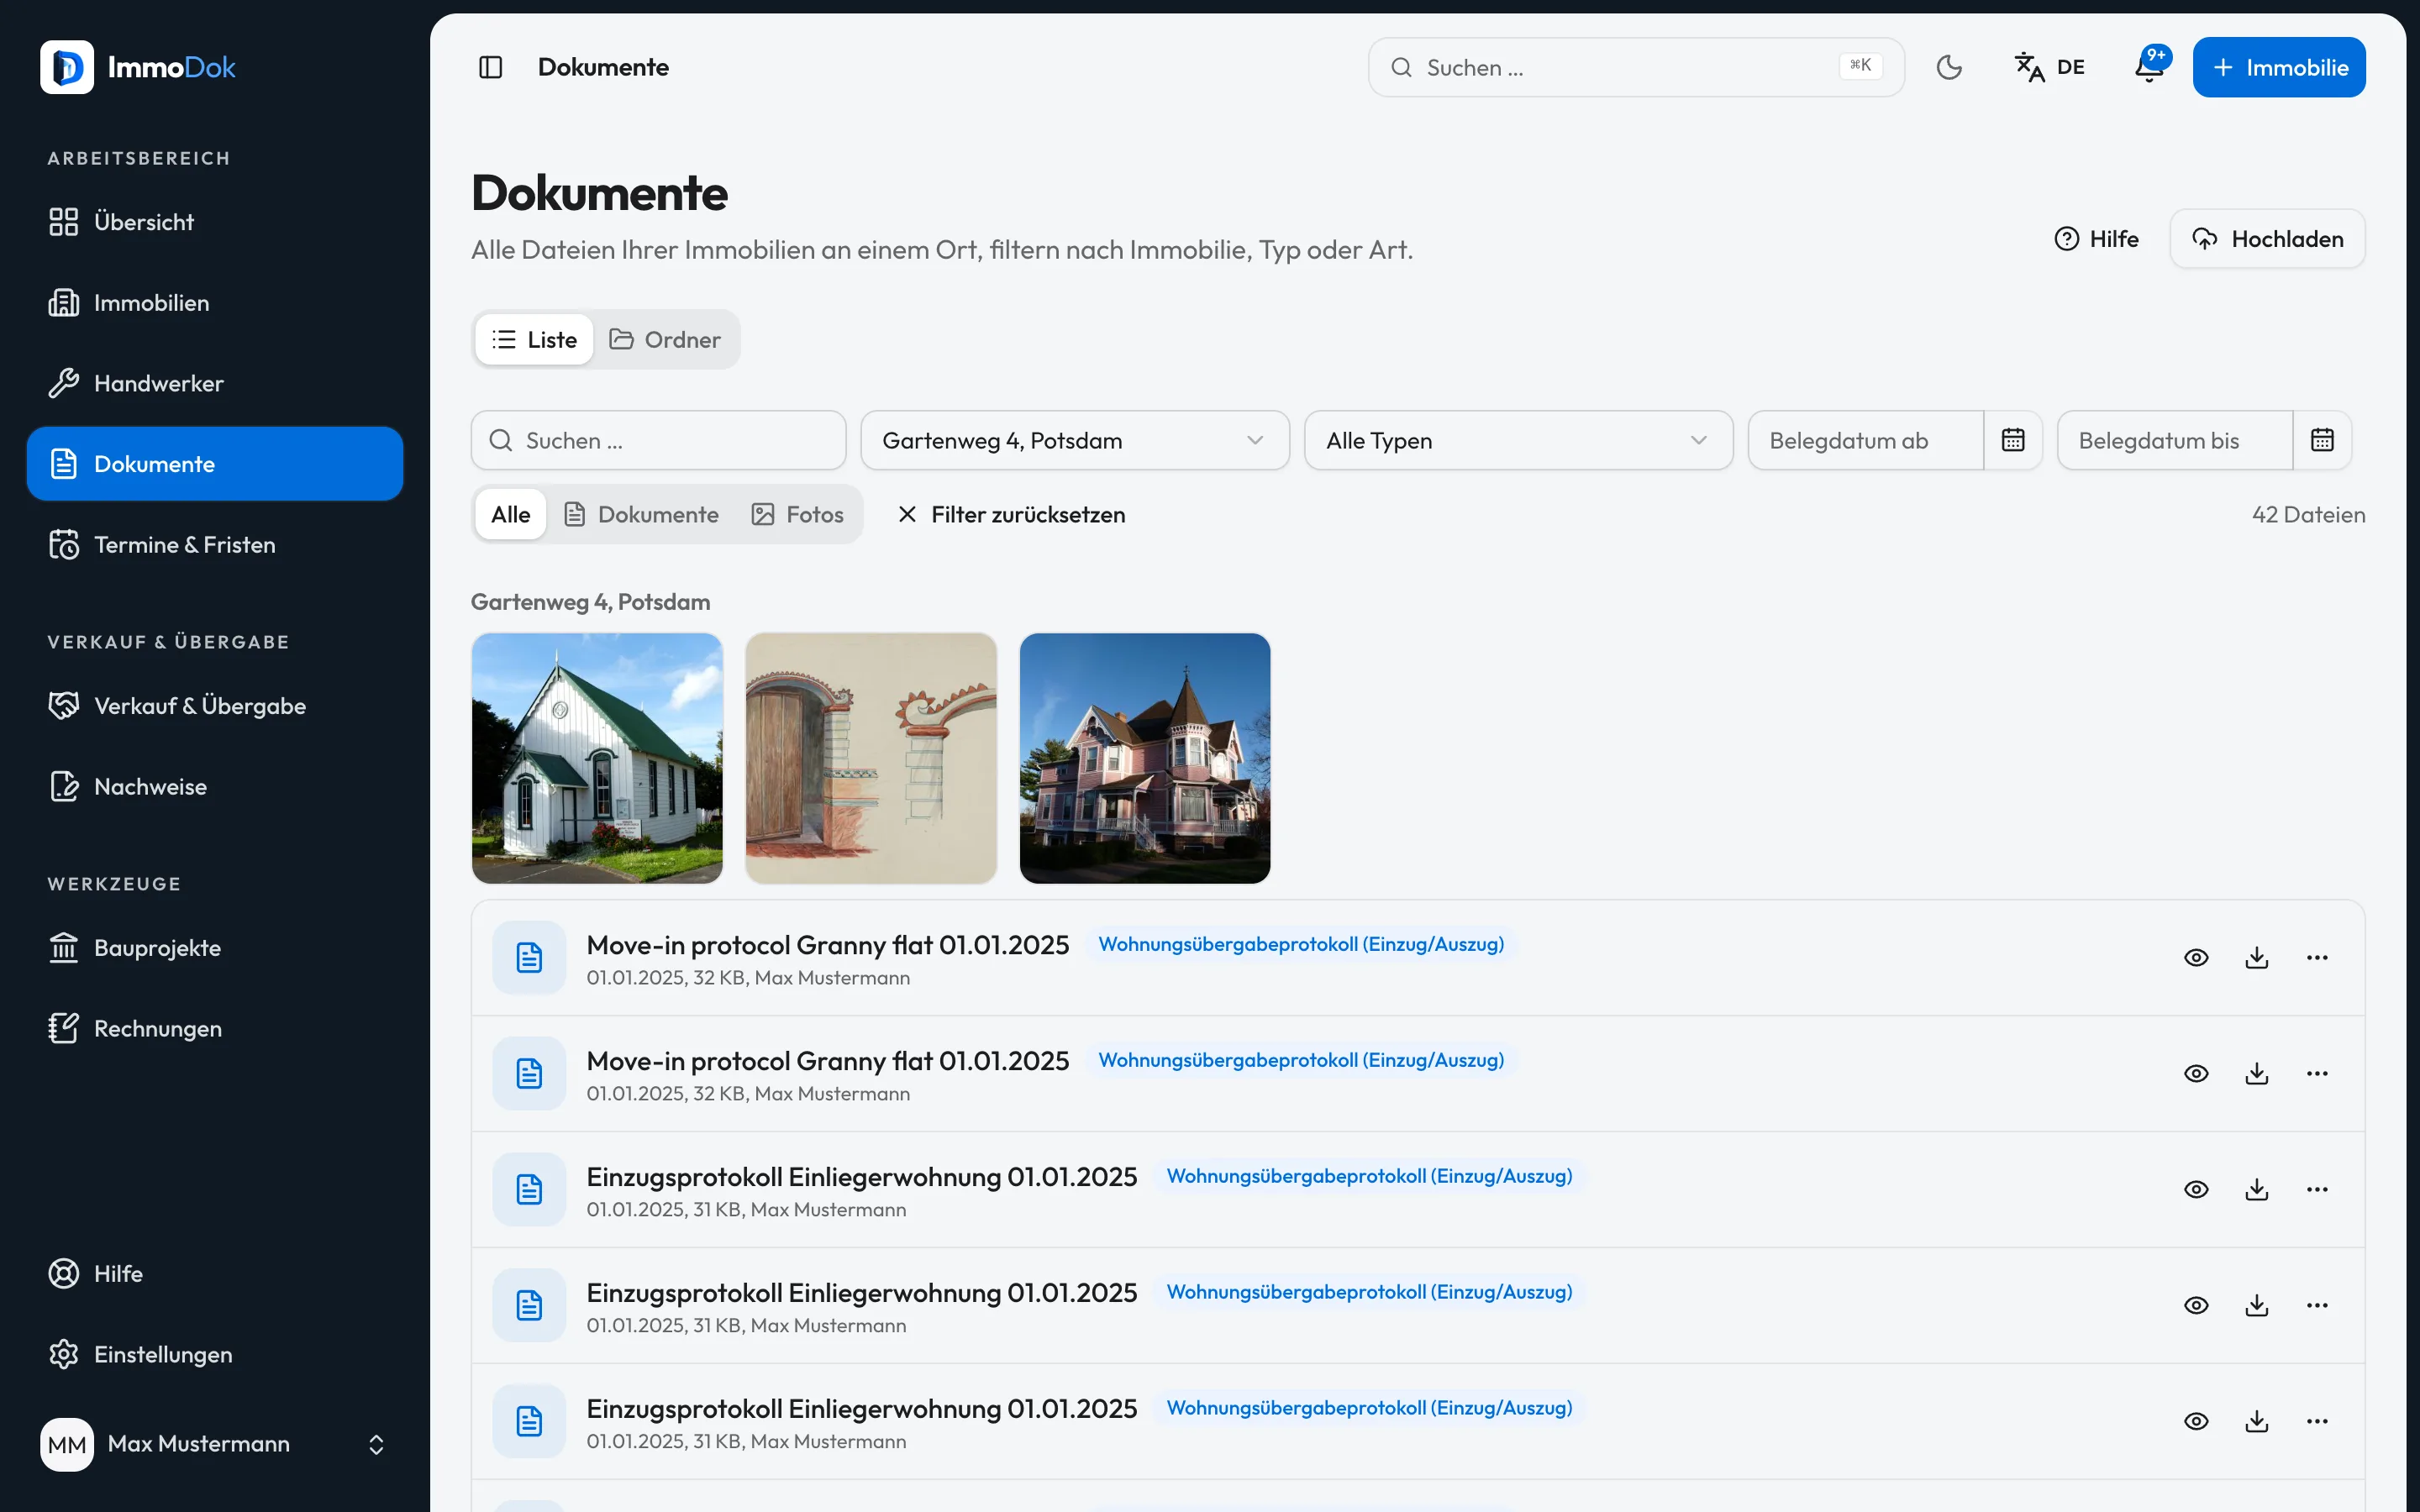
Step by step
- Open the property's "Documents" section, or the document workspace for all properties.Drag and drop works everywhere
- Drag the file into the upload area. PDF, JPG, PNG and HEIC are accepted, e-invoices also as XML.HEIC converts to JPG automatically
- Check the suggested document type. The suggestion comes from local text recognition and stays a suggestion until you confirm it.Nothing leaves the server for this
- Add the type's metadata, the validity date for an energy certificate, amount and invoice date for receipts.Expiry dates appear in the deadlines
- For documents carrying third-party data, confirm the authority prompt, the land register extract, for instance.The confirmation is stored, versioned
The result: The original sits byte-identical with a SHA-256 checksum in private storage, assigned to property and type, counted by the completeness indicator.
Important: Photos are re-encoded on upload and stripped of EXIF and GPS data. Documents are kept unchanged.
Open in the product
What if it does not work?
- The upload is rejected.
- Usually the file type or size does not fit (the default limit is 25 MB per file), or your plan's storage is full (2 GB free, 10 GB with the landlord pass). Very large scans can usually be reduced: scan at 200 to 300 dpi in greyscale or black and white, and use colour only where it matters (plans, photos). That is enough for any authority and takes a fraction of the space.
- The document stays "processing".
- Preview and text recognition run in the background and take a moment for large files. If it stays stuck, see "An upload hangs".
Related guides
Versions, corrections and the archiveA better copy never overwrites the original: replacing creates a new version, and every earlier one stays retrievable with its checksum.Recording an invoice as a receiptAmount, date, issuer and factual category: turning the invoice PDF into a receipt the yearly summary counts.An upload hangs or failsThe most common causes when a file does not arrive or gets stuck in processing, and what helps in each case.